Google Docs is an easy-to-use and free alternative to Microsoft Word with real-time collaboration and sophisticated formatting choices. Using a text box or shape in Google Docs helps highlight specific information. Google Docs lets you put text boxes and custom shapes.
How to insert a Text box
Follow the steps mentioned below to insert a text box.
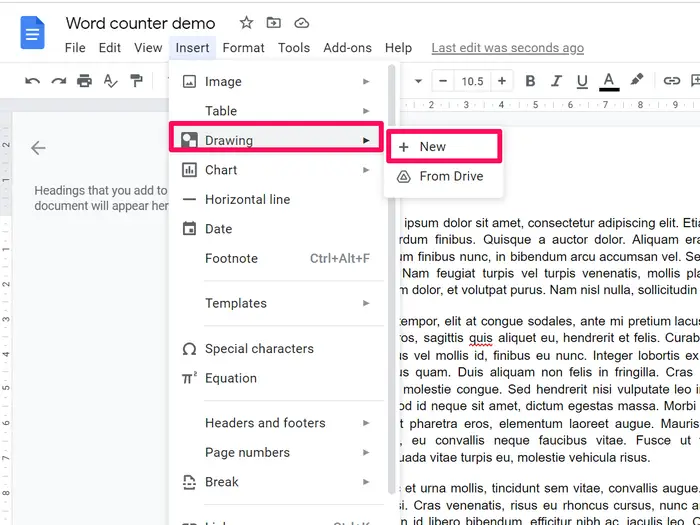
- Choose the Insert option.
- Next, click on the drawing and then select ‘New’.
- Select the Text box.
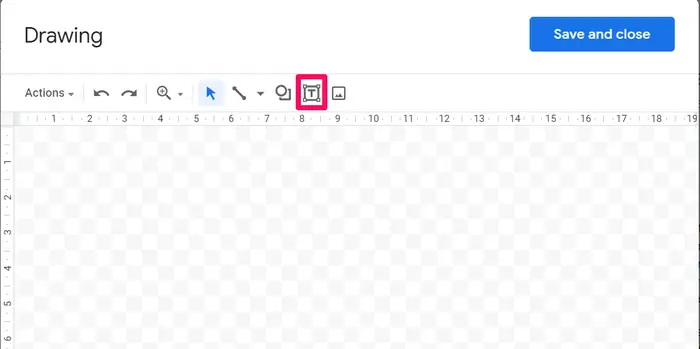
- Click and drag to resize the box, then release it.
- Enter text, then click Save and close.
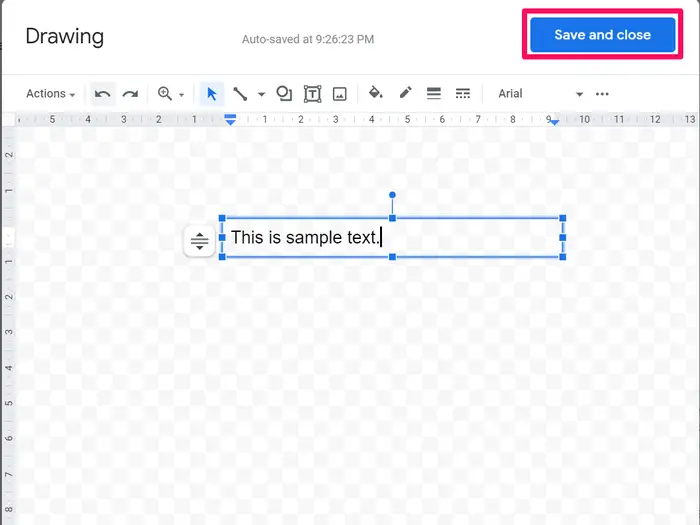
- Further, you can click and drag to move the text box.
Read Also: Picuki: The Popular Story Editor
How to add shapes
- Select the Insert option.
- Next, click on Sketch.
- Select the ‘NEW’ option.
- Select the Shapes option on the Left of the Text box.
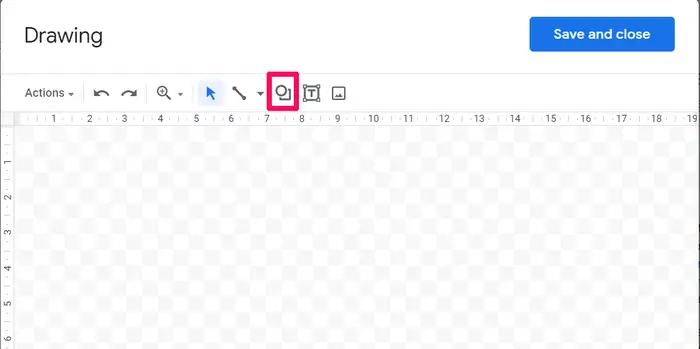
- Clicking on the ‘shapes’ will allow you to customize predetermined forms.
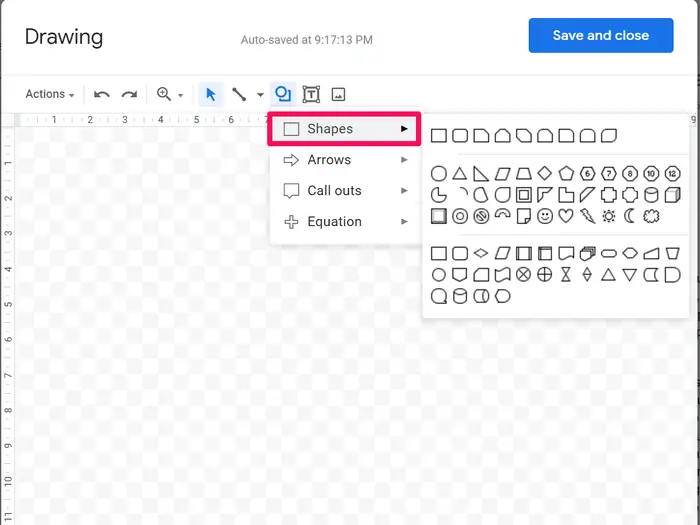
- Save and close when finished.
- Click and drag to move the shape around the document.
How to customize a shape box or text box
- Click Edit on your shape’s contextual menu.
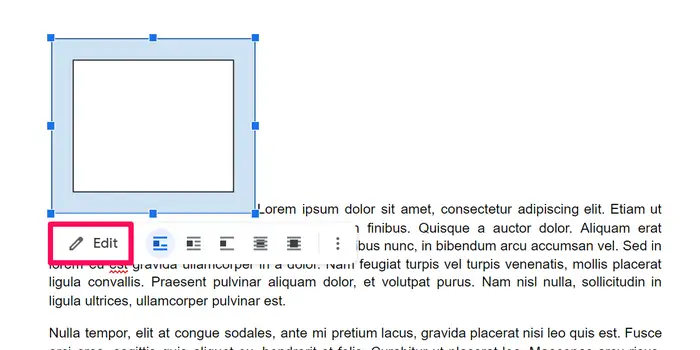
- Click the shape again. This will bring up points you may click and drag to adjust the form, box size, or text within it.
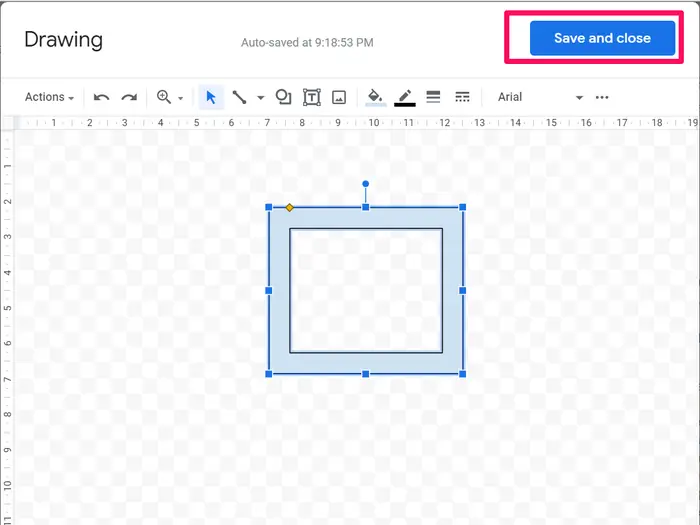
Blue circles at the top of the shape or text box allow rotation. Rotate the point by clicking and holding. Release the mouse once rotated. You can always edit the rotation if you make a mistake.
Read More: A Quick Guide On GMGlobalConnect Login
